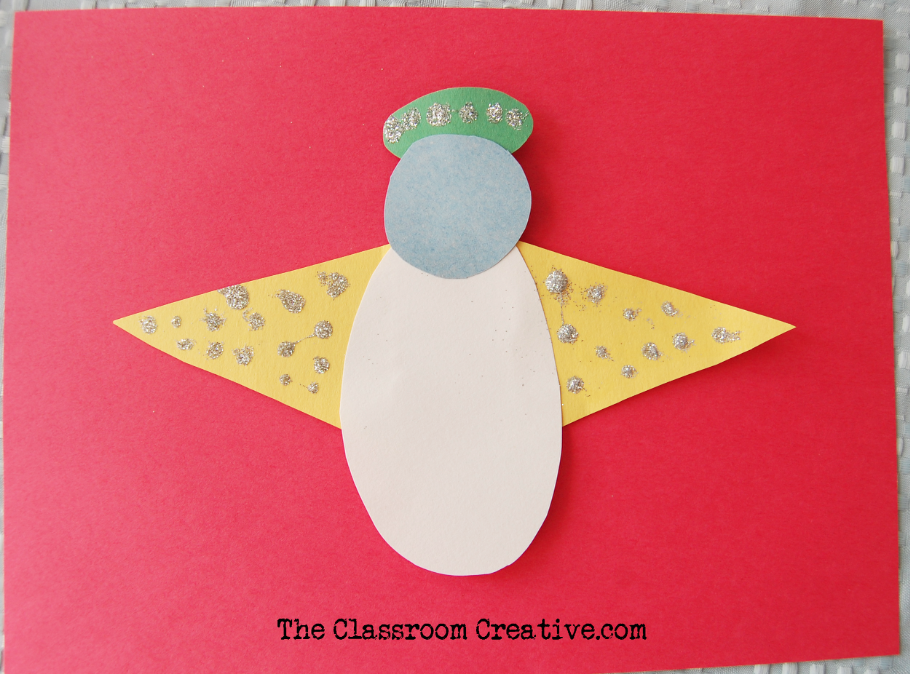
Every object can be drawn and created from simple shapes. This angel craft is no exception. It reinforces the use of shapes, precision cutting, and a little skilled glitter application for flair. It just wouldn’t seem like a Christmas angel without that glittery sparkle! My son thinks using glitter is the bees knees. That’s why I like to incorporate glitter into a lot of projects that we create together.
This post is a part of our series over the next two weeks:
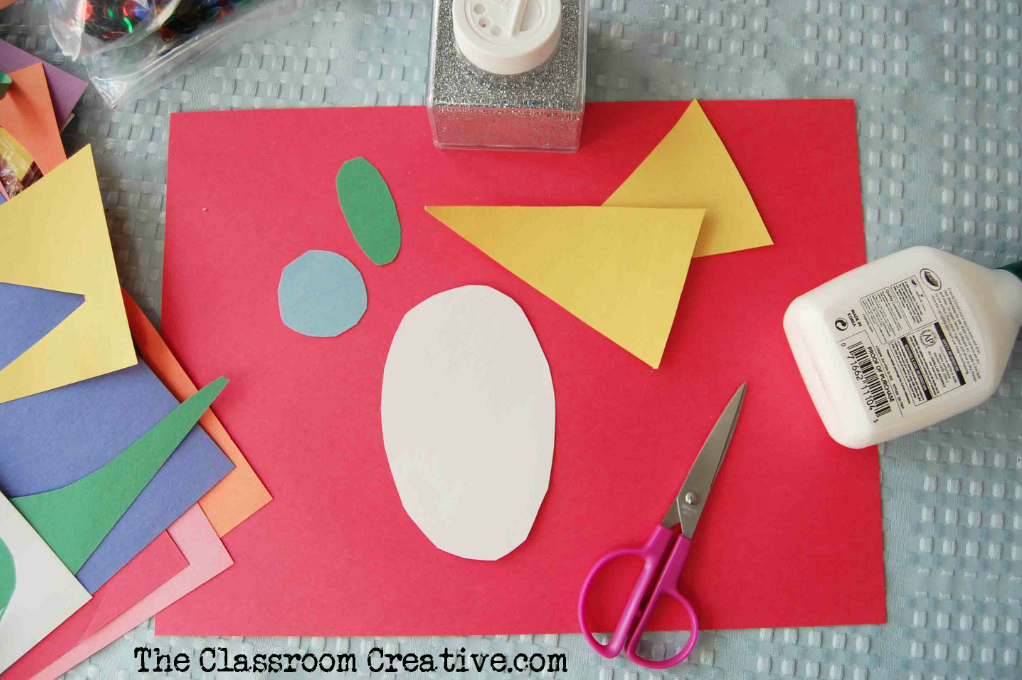
- construction paper {several colors}
- scissors
- elmers glue {not stick glue}
- q-tips
- scrap paper
- small plastic container to pour a little glue into
- glitter
- pencil
- Have your child or students name all the shapes they recognize in the angel. Then cut out these shapes to create an angel. Shapes needed: a large oval for the body, a small oval for the halo, a circle for the head, and two identical triangles for the body {use what ever color construction paper you desire}
- Glue circle {head} on top of large oval {body}, all other shapes glue behind the large oval {see my example above}
- Dip a q-tip in glue and dab dots of it on the angel’s wings, halo or where ever you feel glitter is needed
- Before the glitter application I put a large scrap paper down behind the angel to catch glitter. I had my son shake the remaining glitter off the angel and then I folded the scrap paper in half and return the extra glitter to the glitter container. Saves glitter and makes for an easy clean up!
Attach a ribbon to the back to make an ornament or don’t just stop at one angel. Make several, string them together, and create garland!
Stay connected with us at The Classroom Creative:
Happy Holidays!
Karen


