As an art teacher to preschoolers, kindergartners, and first graders, I have made my fair share of paper plate crafts. The best part about paper plates is their endless possibilities!
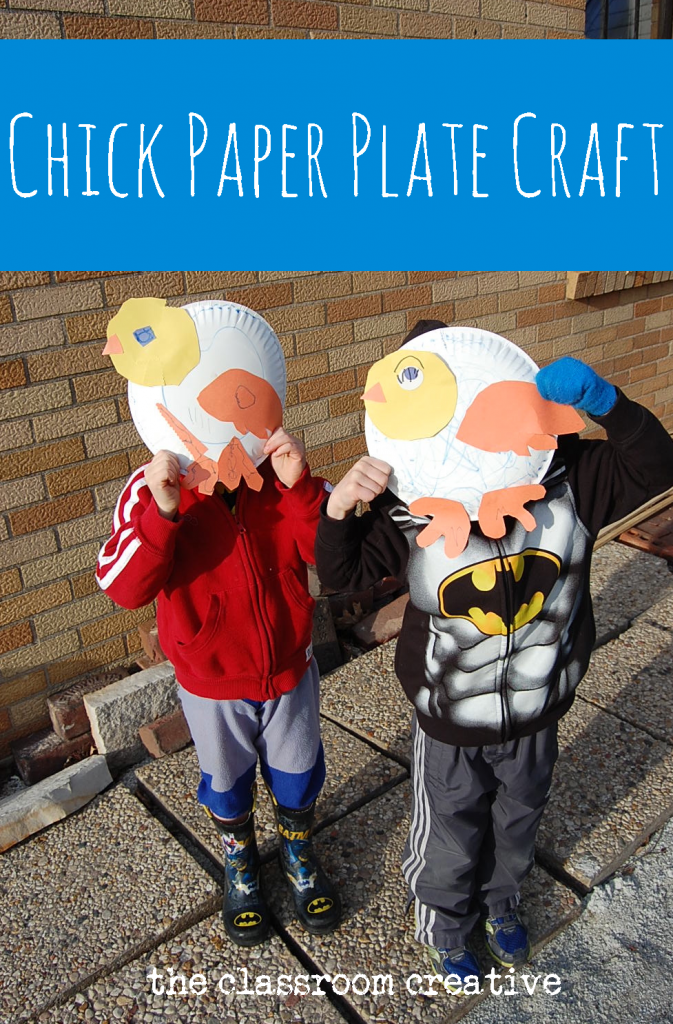
Although it’s still below freezing outside, I thought I could will spring’s return with a chick paper plate craft. It also gave me the opportunity to talk with the boys about what came first: the chicken or the egg. Just kidding!
- my chick template
- paper plate
- yellow paint
- construction paper: yellow and orange
- scissors
- glue
- Print out my chick craft template.
- Paint paper plate or color and set aside to dry.
- Trace and cut out head, beak, feet, wing, and eye using construction paper.
- For this project I used the whole plate for the body of the chick. For kids with more advanced fine motor skills, try your hand at our part plate caterpillar craft.
- Glue on the parts of the chick on the plate and display!
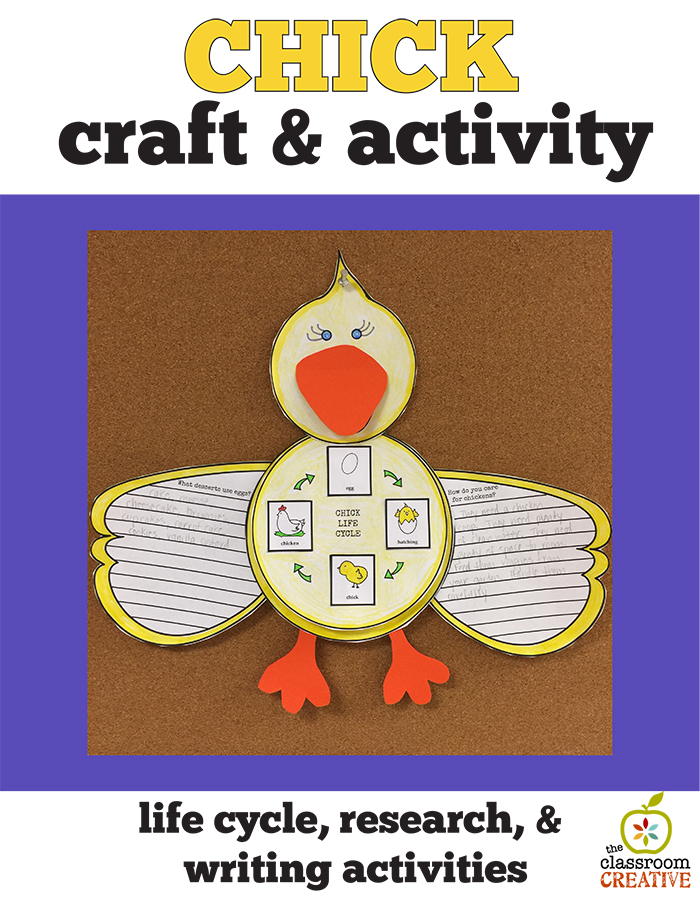
Continue your chick exploration with our Chick Life Cycle Activity!
This post may contain affiliate links to Amazon because I have a relationship with her. Whenever I need something, I simply place the item in her cart and she drops it off at my front door a couple days later. She’s the greatest. I also like to link to our TpT shop. It’s filled with tons of innovative ways to help educate young minds. If you have time, please check it out!Stay connected with us at The Classroom Creative:
- Google :: Instagram :: bloglovin’
- Facebook :: Pinterest :: Twitter
- Email :: Teachers Pay Teachers
Happy chick, chick, chick-a-dees!
Karen


[…] Chick Paper Plate […]