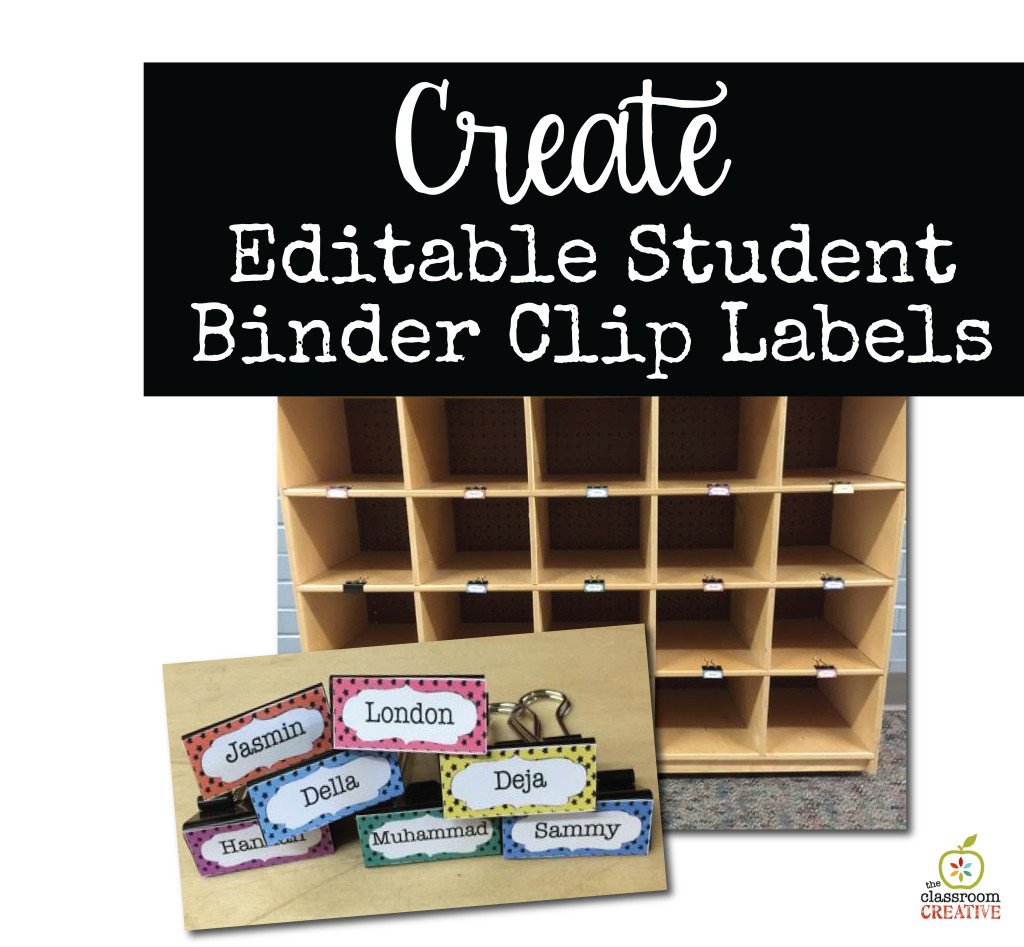
Managing student work, collecting homework, and chasing the paper trail is a management issue for all teachers from preschool all the way to junior high! In the younger grades, many schools use student cubbies. I’ve always used a cubby/mailbox system in my classrooms with binder clip labels featuring students’ names to the make the process simple. In my upper grade classrooms, all of my students were assigned a number from 1-35. Yes, I had 35 kids in a classroom here in Chicago. Teaching 35 was a challenge!
That numbered system worked well when I was in a departmental setting with multiple classes of kids. My 7th/8th graders loved the system. So did I, it was a breeze to input grades because all of my papers were already alphabetized!
Making these editable labels is EASY.
- one of our binder clip label packs (the editable sheets come in ALL three binder clip sizes you find in typical dollar stores)
- laminator/laminating sheets
- hot glue (or clear packing tape if you decide not to go the laminating route)
- scissors
1.) Purchase one of our binder clip label packs.
2.) Buy a few packs of binder clips.
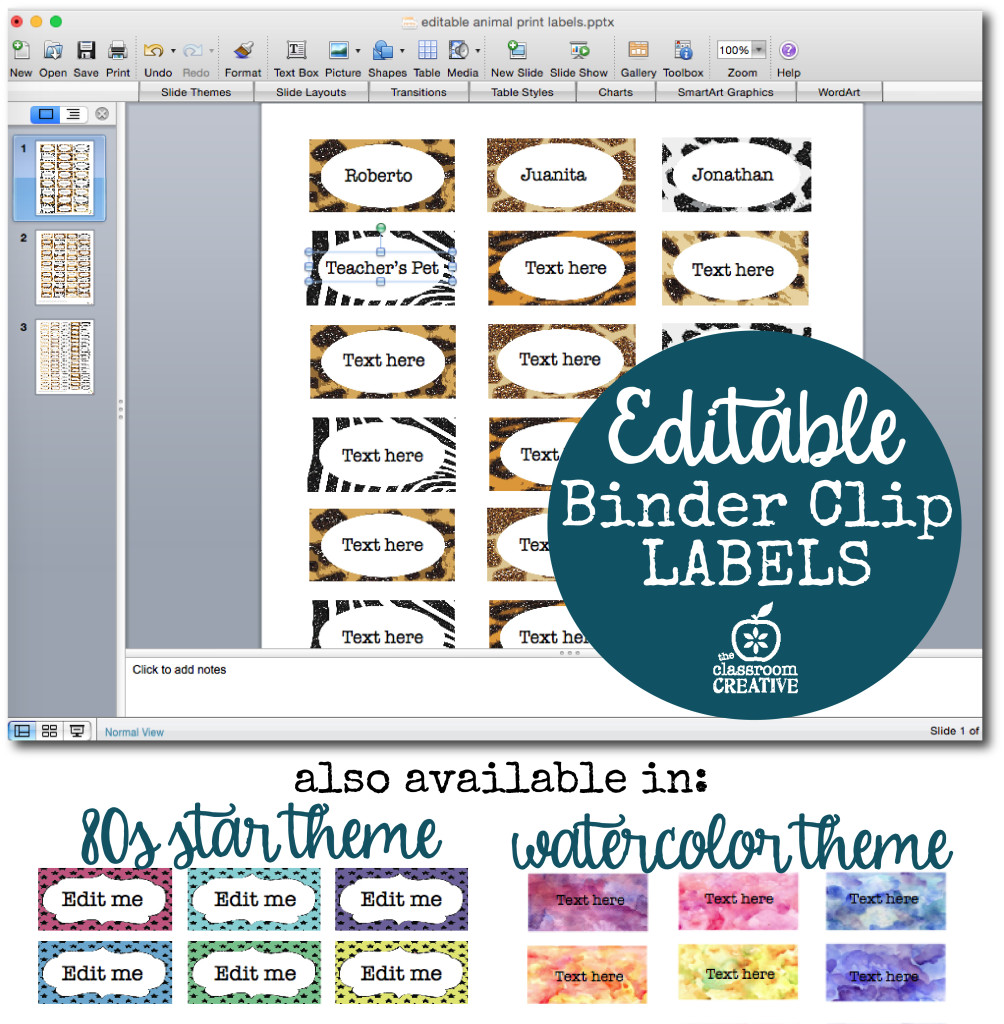
3.)Open powerpoint in our editable file available in our binder clip label packs at TpT, and just add your students’ names.
4.) Print. Laminate. Cut, hot glue or tape the labels to the binder clips. Admire their greatness. Pat yourself on the back for starting the year off right. You too, can have papers organized by students’ names the easy way!
5.) Return to school. Clip the binder clips to your student cubbies, mailboxes, etc. Be the envy of your grade level. Spread the good word about our store and our stellar ideas.
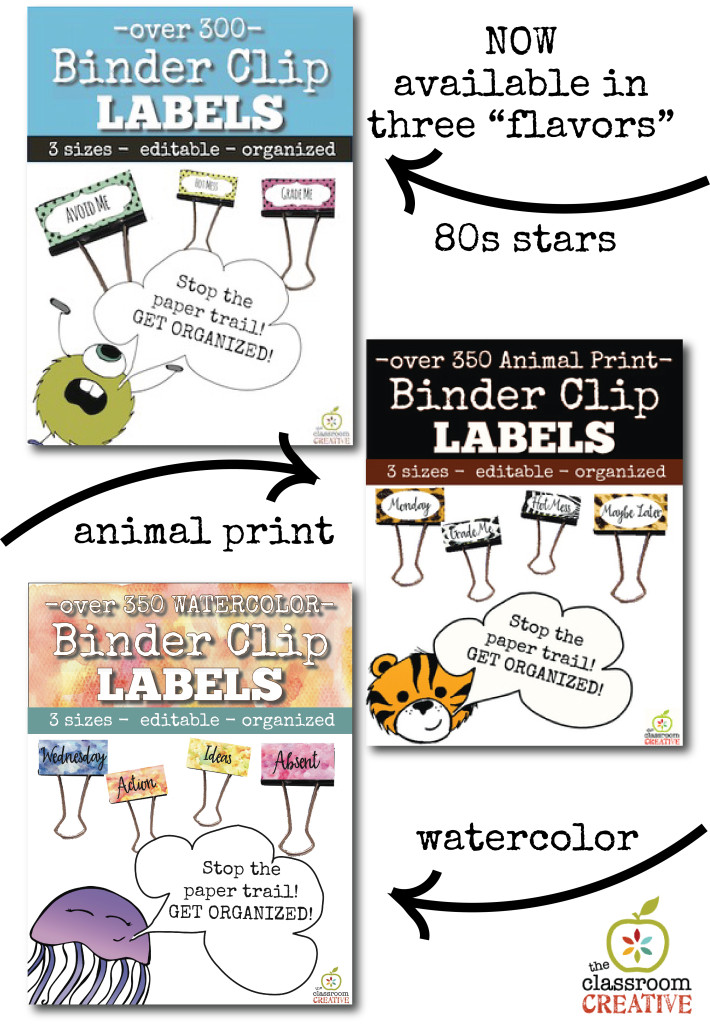
These labels are now available in three fun themes: 80s star (the original fun that has gone viral on Pinterest), Glitter Animal Print, and Watercolor.
Stay connected with us at The Classroom Creative:
- Google :: Instagram :: bloglovin’
- Facebook :: Pinterest :: Twitter
- Email :: Teachers Pay Teachers
Thanks for reading,
Nicolette
