“This shop is part of a social shopper marketing insight campaign with Pollinate Media Group® and Scott Brand, but all my opinions are my own. #pmedia #Scottvalue http://my-disclosur.es/OBsstV”
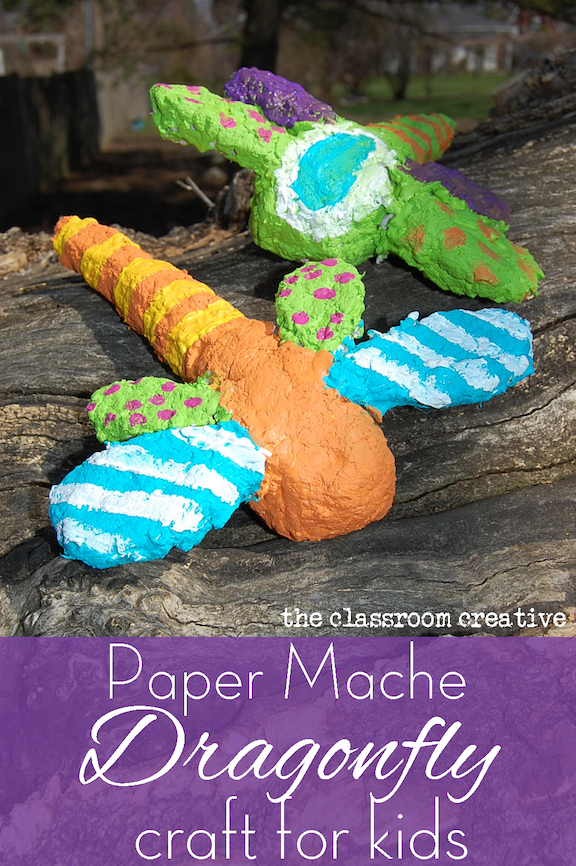
As an art teacher, paper mache was always a favorite medium of mine to introduce to students. Using common household items such as Scott Tissue, we created a paper mache recipe that is perfect for all your 3D crafting needs! Of course, given my son’s love of insects, we decided to tackle creating paper mache dragonflies.
So, last week, I headed to Kmart to pick up a megapack of Scott Tissue for this project. By the way, save a bundle on Scott tissue at Kmart with Kmart Shop Your Way Rewards for great coupon offers on Scott Tissue products this week! (Offer valid 4/20/14-4/26/14 while supplies last).
- newspaper
- masking tape
- pipe cleaners
- acrylic paints
- paint brush
- Scoot Brand toilet paper- one roll
- 3/4 cup Elmer’s glue
- 1 cup all purpose joint compound
- 2 tablespoons linseed oil (or vegetable oil)
- 1/2 cup of flour
- a bowl of warm water
- mixer
- gloves**
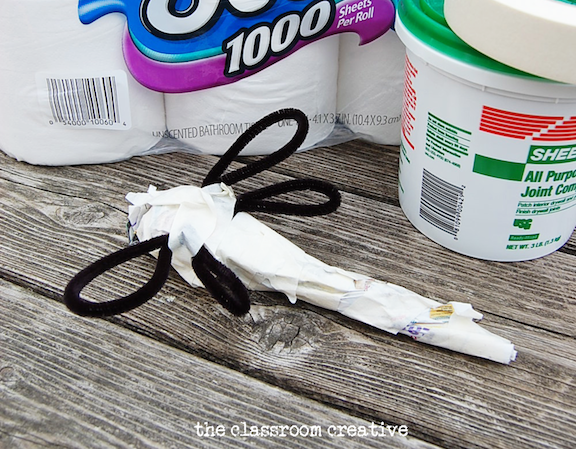
- Choose an object such as an insect or animal. Create a skeleton from pipecleaners, newspaper, and tape. See above. This is the before of one of our dragonflies.
- Soak Scott tissue in warm water then squeeze the water out.
- Tear the Scott tissue into small clumps. Place in a bowl.
- Add glue, flour, all purpose joint compound, and linseed oil or vegetable oil.
- Mix with a blender on high until the mixture is a cookie dough consistency.
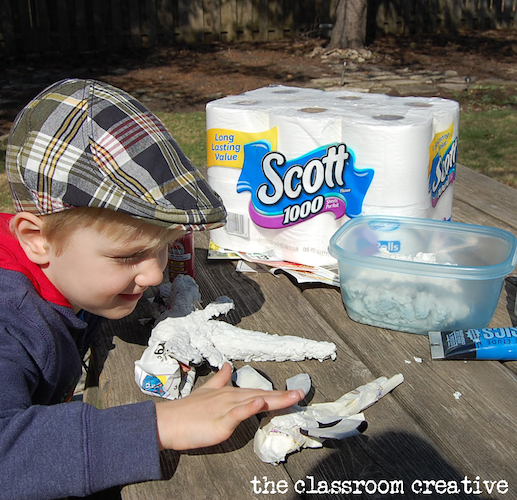
- Use gloves and cover the frame of your chosen insect or animal with the paper mache mixture.
- This process takes 24 hours to set and dry. You can speed up the process by putting it in the oven at 200 degrees.
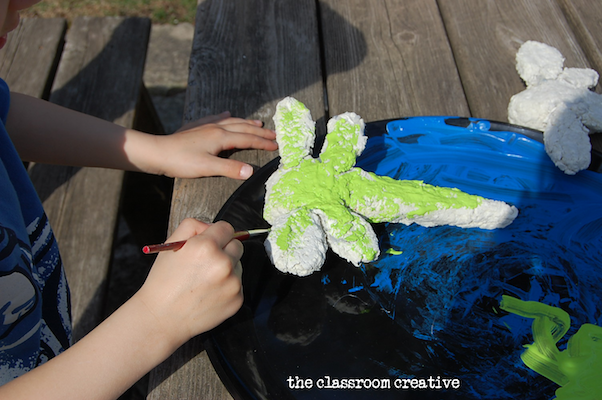
- Once the layer of paper mache has set, paint with your choice of acrylic paint.
He couldn’t wait to start painting his dragonfly!
I hope this inspires you to create a paper mache project this spring.
Karen
p.s.
Check out Scott’s facebook page and the Shop Your Way Rewards site!


