Organizing handwriting pages was a BIG hassle for me until I moved to a binder system. The hot mess of “a before” amounted to random piles of papers. It was UGLY, people. It was messy. No photos necessary.
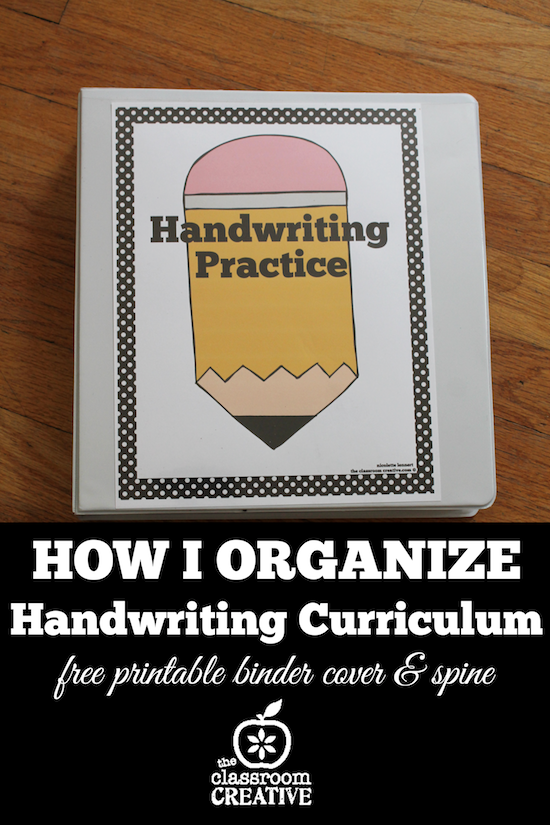
With a few supplies and a *free* printable cover and spine, I feel ready to tackle at least one portion of my homeschool for my kindergarten age son this coming school year. Real official homeschool starts September 3rd, and I still have so much to do!
I digress. I’m awaiting some curriuculm to arrive from Amazon TODAY. Then, I will tackle math next. That’s a whole other issue: my son is 5 and has tested out of most kindergarten work. Thank God I have a master’s in curriculum and instruction and can write our own materials. Which, from the looks of it, is a must!
Behold, dear readers, the reusable handwriting binder! It’s stacked and loaded with practice, practice, and more practice. Earlier in the week, I shared a few of my TpT favorites for handwriting. Now, I want to show you how I am organizing it all!
Soon, I will talk about how improving handwriting is more than a paper activity. My years spent on this side of special needs parenting and HOURS of OT have given me a deeper insight into the sensory and gross motor needs required to improve fine motor. Stay tuned!
- thick 2 inch white binder
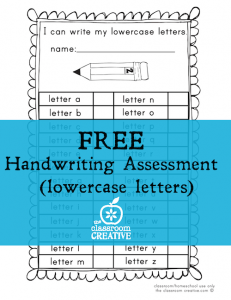
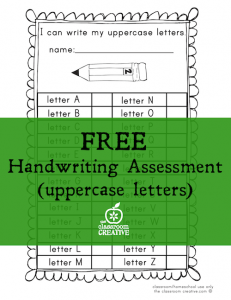
- handwriting assessment pages (free on our site)
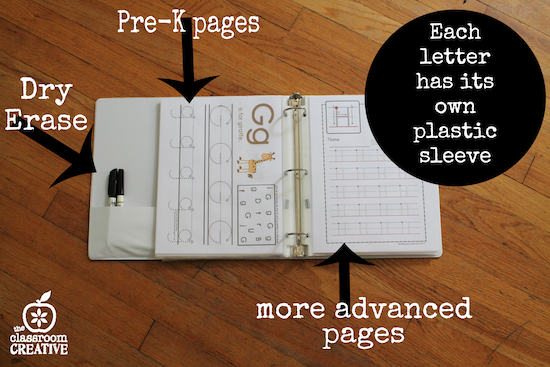
- 26 thick plastic sleeves (if you want to separate upper and lowercase letters use 52 pages)
- dry erase markers
- good music on Spotify while you tackle this
- coffee or wine, depending on time of day
- FREE printable handwriting practice binder and spine covers (over at TpT)
1.) Print out your favorite handwriting sheets. Slide all letter pages into one plastic sleeve. I started with the easiest PreK type pages, and also printed more advanced pages as my children improve. This way I have it all done. One plastic sleeve per letter makes life simple.
2.) Keep dry erase markers in the inside pocket of the binder so you don’t have to search for them each time you need them.
3.) Use our assessment pages before you begin practice, so you know what letters your students need help with!
4.) I set up each plastic sleeve with printables by letter. Soon, I think I may add tabs. If students are using these solo, that would be a great idea! This could be an easy go-to center or workbox type set-up.
Mosey on by to our TpT store to pick up your free printable binder and spine cover. Don’t forget to add good music and a choice beverage while you make your binder. Enjoy!
Stay connected with us at The Classroom Creative:
- Google :: Instagram :: bloglovin’
- Facebook :: Pinterest :: Twitter
- Email :: Teachers Pay Teachers :: Teacher’s Notebook
Get organized!Nicolette
This post my contain affiliate links to Amazon and links to our TpT shop.
sharing@TBA & ClassroomFreebies




[…] Organizing a Handwriting Curriculum with Free Binder Labels […]